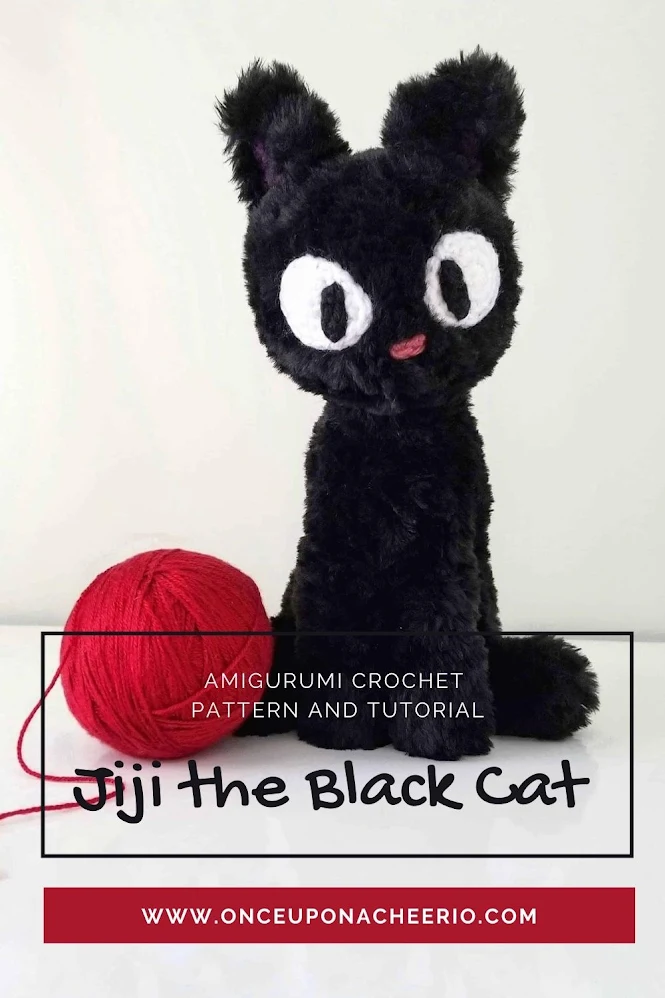
Please note that this blog post is a tutorial for Jiji the Black Cat amigurumi crochet pattern. The FREE crochet pattern can be found here.
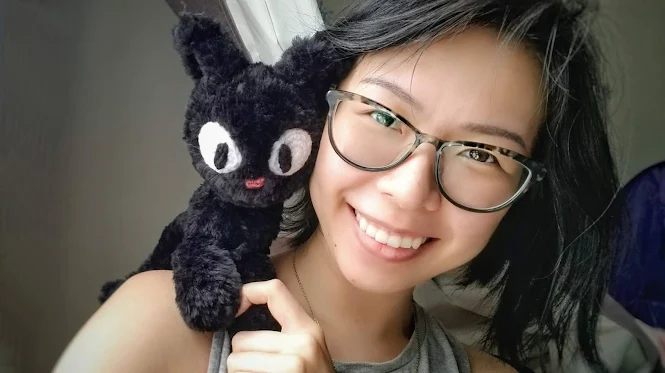
I absolutely love my little black cat, Jiji. Crocheting with faux fur yarn can be a bit intimidating, but it was so worth it!
I wrote a blog post with some tips on using faux fur yarn for amigurumi, here.
I ended up making a total of 3 black cats with the faux fur yarn that I got and each one turned out slightly different. I guess that's the beauty of handmade.

While I did my best to write out the crochet pattern with the clearest instructions, I understand that extra pictures are always helpful.
Since the stitches are pretty much impossible to see with the faux fur yarn, I made portions of the cat using worsted-weight yarn to help illustrate where the stitches should go.

Remember to like Once Upon a Cheerio on Facebook. I'd also love it if you followed @onceuponacheerio on Instagram!
Don't have time to make it right this instant? Pin it for later!
Crocheting the Front Legs
Photo 1: Make 2 front legs, but don't fasten off the second leg.
Photo 2: Join with the first leg with a single crochet stitch.
Photo 3: Single crochet in each stitch around the first leg and the second leg.
Photo 4: Single crochet in each stitch around again making the legs longer.

Round 16: Attaching the Body with the Front Legs
As mentioned in the notes section of Jiji the Black Cat, I used the "wrong side" of the crochet piece to be the outside of my cat.
When crocheting the body and the legs together, put your hook through the next stitch in the body (from the inside out), and then through the legs (from the outside in).

In round 16, single crochet in the first 2 stitches of the body (green), and then make two single crochets to join the body and legs together (red).

Continue crocheting around the body for the remaining of round 16.
After making the two single crochet stitches that join the legs to the body, continue crocheting around the body (purple).
Round 17: Decreasing Around the Legs
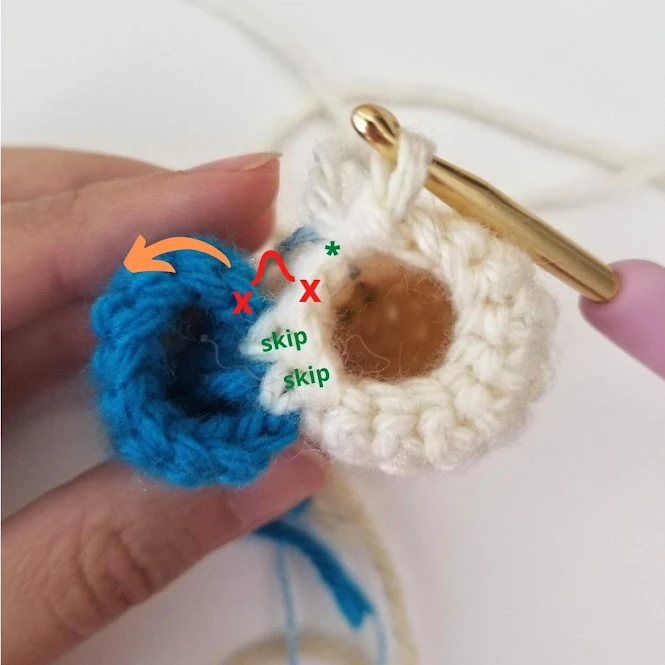
Make 1 single crochet stitch on the body (green), then a single crochet decrease stitch with one stitch from the body and the first "untouched" stitch from the legs (red).

Single crochet 8 stitches around the legs.
Then make another single crochet decrease with one stitch from the legs and the next untouched stitch from the body (red).

Finish the row with 9 more single crochet stitches around the body (purple) until the end of the round.
From here, you can ignore the "skipped" stitches (green) and crochet around both the body and the front legs.
Did you make your own Jiji the Black Cat? I'd love to see it! Please share it with me on Instagram and/or use the #onceuponacheerio hashtag.
This is an original crochet pattern written by Juli Anne of Once Upon a Cheerio. Please do not claim this crochet pattern as your own. If you wish to share this crochet pattern, you may link to this blog post, but please do not reprint it on your site. You may keep a copy for personal use, but please DO NOT sell or distribute the crochet pattern.
Disclaimer: We are not affiliated, associated, authorized, endorsed by, or in any way officially connected with Studio Ghibli or any of its subsidiaries or its affiliates. Jiji of Kiki's Delivery Service is a trademarked character owned by Studio Ghibli. Please reserve this crochet pattern and the finished product for personal use ONLY.


Hi! First of all thank you SO MUCH for this awesome pattern. It's fantastic and the idea with the fluffy yarn is great. I just have one question regarding connecting the front legs. In the pattern you say to attach to the 7th row however it says to crochet 8 rows for the legs so I'm a little confused about that. Should I do the first leg with 7 rows so that they are an even length? Thanks a lot :)
Hello! Thank you for your comment! I think that was a typo. I've corrected it now. Thanks! ❤️
Post a Comment