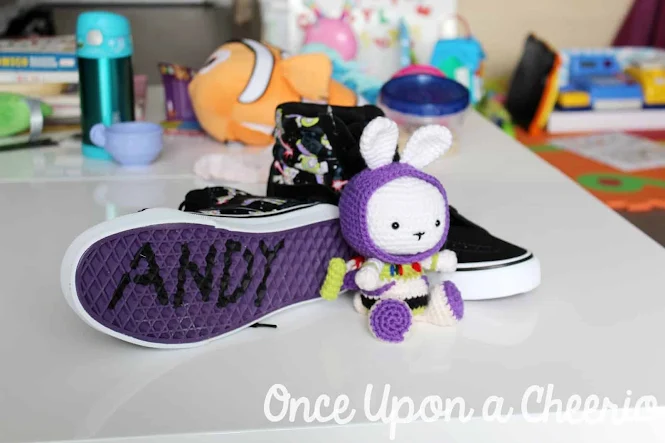
Blast off into the world of amigurumi with this charming Buzz Lightyear bunny crochet pattern! Combining the whimsy of a classic bunny with the adventurous spirit of everyone's favorite space ranger, this project is perfect for Disney fans and craft enthusiasts alike.
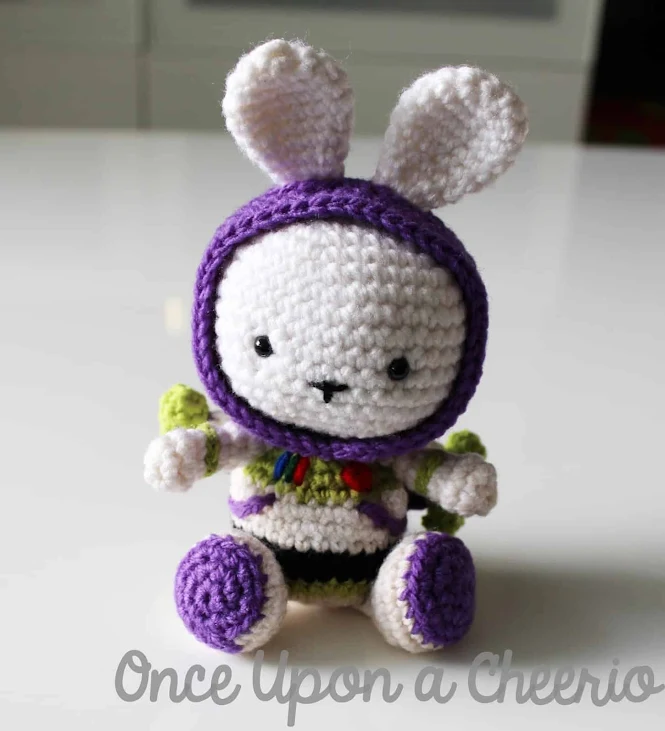
Inspired by Toy Story's iconic space ranger, this bunny wears a removable hoodie that mirrors Buzz Lightyear's vibrant suit, complete with purple, green, and red accents. Whether you're crafting for a Disney-loving child or just want to add a fun twist to your handmade toys, this crochet pattern is a playful mashup!
The bunny is crocheted in pieces and then assembled for a soft, huggable finish. The star of the show is the hood that is designed to be able to slip on and off like a hoodie, making this amigurumi bunny feel extra interactive and imaginative. It's a fun and rewarding make for beginner to intermediate crocheters who love crochet-inspired projects!
What You Need / Materials
This post contains affiliate links. Purchasing items through these links will not cost you any extra money. Please see our disclosure policy for more details.
- Worsted weight yarn in the following colors
- White (I used Red Heart Super Saver in White)
- Purple (I used Red Heart Super Saver in Amethyst)
- Green (Try using Red Heart Super Saver in Spring Green)
- Darker Green (Try using Red Heart Super Saver in Paddy Green)
- Black (I used Red Heart Super Saver in Black)
- Red (Try using Red Heart Super Saver in Cherry Red)
- Blue (Try using Red Heart Super Saver in Royal)
- 4.0 mm Crochet Hook
- Safety Eyes (I used 6.0 mm)
- Polyester Stuffing of your choice
- Yarn Needle
- Stitch Markers
- Scissors
Finished Size
- Finished amigurumi measures approximately 14 cm (5.5 inches) in height.
- Consider using a different yarn weight/category and appropriate hook size for this project to make it bigger/smaller.
Level of Difficulty
- ★★☆☆☆ Beginner / Easy
- Requires familiarity with stitches used (below), attaching plastic safety eyes, changing yarn colors, and basic sewing and embroidery skills.
Stitches & Abbreviations
- sc - single crochet
- st/sts - stitch/stitches
- slst - slip stitch
- sc inc - single crochet increase, 2 single crochets in one stitch
- sc dec - single crochet decrease, single crochet 2 stitches together
- BLO - back loop only

Pattern Notes
- This pattern is written using US crochet terms.
- I used the underside of the amigurumi hairpiece as the visible side, allowing the strands to naturally curl towards the face.
- Use the yarn under single crochet technique to achieve tighter, more aligned stitches.
- Learn how to seamlessly change color in crochet mid-row or round to create clean color transitions.
- Crochet in continuous spiral rounds. Do not join at the end of each round unless otherwise stated.
- Use a running stitch marker to keep your place when crocheting in rounds.
- Use the ultimate finish to neatly close up your amigurumi pieces.
- Use the invisible fasten-off method to create a smooth, knot-free edge that blends perfectly with your stitches.
- Optional: Use the invisible increase and invisible decrease to enhance the appearance of your amigurumi.
- Optional: Use the half-color change technique for clean color transitions between rounds
Free Crochet Pattern
Head
Using a 4.0 mm crochet hook and white yarn...
Round 1: Magic Ring with a base of 6 sc (6 sts)
Round 2: Sc inc in each st around (12 sts)
Round 3: [Sc, sc inc] x 6 times (18 sts)
Round 4: [2 sc, sc inc] x 6 times (24 sts)
Round 5: [3 sc, sc inc] x 6 times (30 sts)
Round 6: [4 sc, sc inc] x 6 times (36 sts)
Round 7: [5 sc, sc inc] x 6 times (42 sts)
Put in your safety eyes. I put mine between Rounds 11 and 12, about 7 stitches apart. You're now going to start closing the amigurumi tooth. Stuff the tooth with polyester stuffing before the opening gets too small.
Round 8-14: Sc in each st around (42 sts)
Round 15: [5 sc, sc dec] x 6 times (36 sts)
Round 16: [4 sc, sc dec] x 6 times (30 sts)
Round 17: [3 sc, sc dec] x 6 times (24 sts)
Stuff firmly as you continue to decrease
Round 18: [2 sc, sc dec] x 6 times (18 sts)
Round 19: [Sc, sc dec] x 6 times (12 sts)
Fasten off and leave a tail to sew onto the hood
Ears (make 2)
Using a 4.0 mm crochet hook and white yarn...
Round 1: Magic Ring with a base of 5 sc (5 sts)
Round 2: Sc inc in each st around (10 sts)
Round 3: [Sc, sc inc] x 5 times (15 sts)
Round 4-5: Sc in each st around (15 sts)
Round 6: [3 sc, sc dec] x 3 times (12 sts)
Round 7: Sc in each st around (12 sts)
Round 8: [2 sc, sc dec] x 3 times (9 sts)
Round 9: Sc in each st around (9 sts)
Round 10: [Sc, sc dec] x 3 times (6 sts)
Fasten off and leave a tail to sew onto the head
Hood
Using a 4.0 mm crochet hook and purple yarn...
Round 1: Magic Ring with a base of 6 sc (6 sts)
Round 2: Sc inc in each st around (12 sts)
Round 3: [Sc, sc inc] x 6 times (18 sts)
Round 4: [2 sc. sc inc] x 6 times (24 sts)
Round 5: [3 sc, sc inc] x 6 times (30 sts)
Round 6: [4 sc, sc inc] x 6 times (36 sts)
Round 7: [5 sc, sc inc] x 6 times (42 sts)
Round 8: [6 sc, sc inc] x 6 times (48 sts)
Round 9-13: Sc in each st around (48 sts)
Round 14: Sc in the next 16 sts, chain 7, skip 7 sts, and then sc in the next 2 sts, chain 7, skip 7 sts, and then sc in the next 16 sts (48 sts)
Round 15-17: Sc in each st around (48 sts)
Feel free to do an extra row or two of sc if you want the hood to extend a little toward the face, then fasten off and weave in the ends
Body
Using a 4.0 mm crochet hook and white yarn...
Round 1: Magic Ring with a base of 6 sc (6 sts)
Round 2: Sc inc in each st around (12 sts)
Round 3: [Sc, sc inc] x 6 times (18 sts)
Round 4: [2 sc, sc inc] x 6 times (24 sts)
Change to green yarn...
Round 5: [3 sc, sc inc] x 6 times (30 sts)Change to Black...
Round 6-7: Sc in each st (30 sts)
Change to white yarn...
Round 8-10: Sc in each st (30 sts)
Change to green yarn...
Round 11: [3 sc, sc dec] x 6 times (24 sts)
Round 12: [2 sc, sc dec] x 6 times (18 sts)
Round 13: [Sc, sc dec] x 6 times (12 sts)
Fasten off and leave a tail to sew onto the hood
Arms (make 2)
Using a 4.0 mm crochet hook and white yarn...
Round 1: Magic Ring with a base of 6 sc (6 sts)
Round 2: [Sc, sc inc] x 3 times (9 sts)
Round 3: Sc in each st around (9 sts)
Round 4: [Sc, sc dec] x 3 times (6 sts)
Round 5: Sc in each st around (6 sts)
Round 6-7 Sc in each st around (6 sts)
Fasten off and leave a tail to sew onto the body
Using green yarn...
Surface slst using green yarn between Rounds 4 and 5
Legs (make 2)
Using a 4.0 mm crochet hook and purple yarn...
Magic Ring with a base of 6 sc (6 sts)
Round 2: Sc inc in each st around (12 sts)
Round 3: [Sc, sc inc] x 6 times (18 sts)
Round 4: Sc in each st around (18 sts)
Change to white yarn...
Round 5: Sc BLO in each st around (18 sts)
Round 6: Sc in each st around (18 sts)
Round 7: [Sc, sc dec] x 6 times (12 sts)
Round 8: Sc dec in each st around (6 sts)
Round 9: Sc in each st around (6 sts)
Fasten off and leave a tail to sew onto the body.
Tail
Using White yarn...
Round 1: Magic Ring with a base of 6 sc (6 sts)
Round 2: Sc inc in each st around (12 sts)
Round 3: Sc in each st around (12 sts)
Round 4: Sc dec in each st around (6 sts)
Fasten off, leaving a tail to sew onto the body.
Wings/Jet Pack
Using Purple yarn...
Ch 15
Row 1: Sc in the second ch from the hook, sc in the next 13 sts (14 sts)
Row 2-3: Ch 1, turn, sc in the next 14 sts (14 sts)
Change to red and white yarn, alternating...
Row 4: [Sc 2 in white, sc 2 in red] x 3 times, sc 2 in white (14 sts)
Fasten off and weave in the ends.
Side of Wings (make 2)
Using Green yarn...
Round 1: Magic Ring with a base of 6 sc (6 sts)
Round 2-6: Sc in each st around (6 sts)
Fasten off and leave a tail to close up the end, and sew onto the sides of the purple piece of the wings

Assembly
For assembly instructions, please refer to the assembly instructions of my Some Bunny in the Hood crochet pattern. Don't forget to embroider the finishing touches to his outfit (i.e., the buttons on his space ranger suit).
Why I Made This
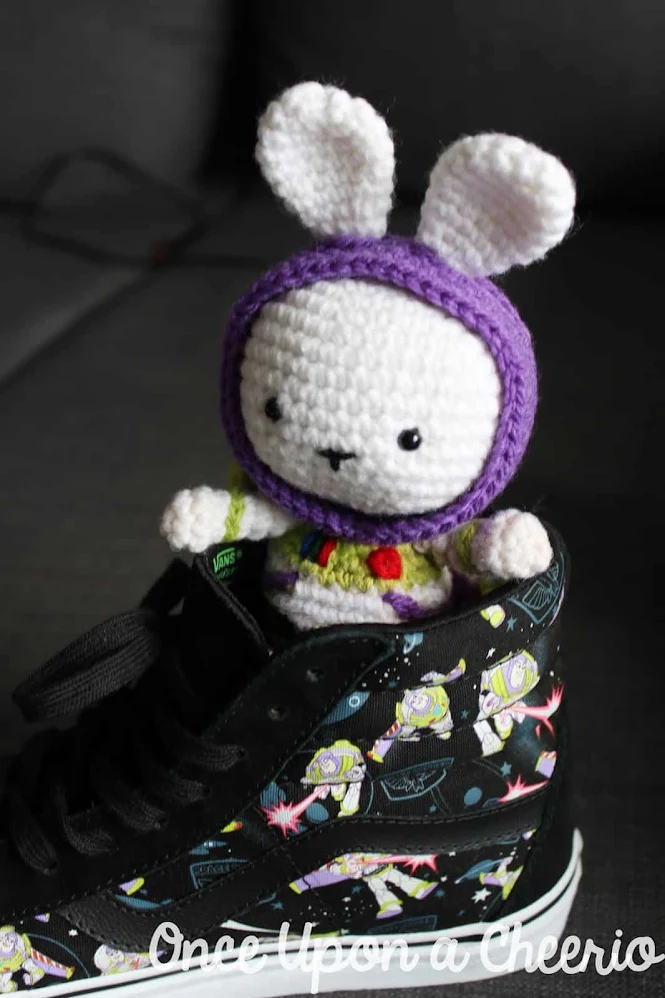
Toy Story is one of my favorite Disney movies. When it first premiered, my favorite character was Woody, perhaps because I sympathized with him as Andy's attention shifted to Buzz Lightyear. However, as more Toy Story movies were released, Buzz grew on me and became one of my favorite Disney characters.
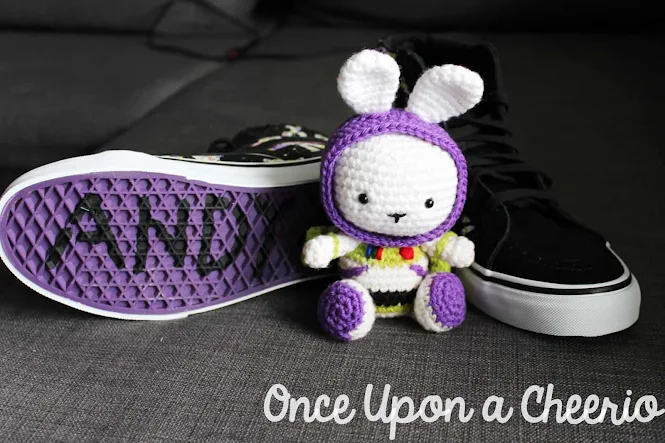
Back in elementary school, my brother's class participated in a Christmas concert themed around a toy shop. When asked what he wanted to be, he chose Buzz Lightyear. My mom and I crafted a Buzz Lightyear costume for him out of cardboard, complete with movable parts and expandable wings. It's still one of the most impressive DIY costumes we've ever made.
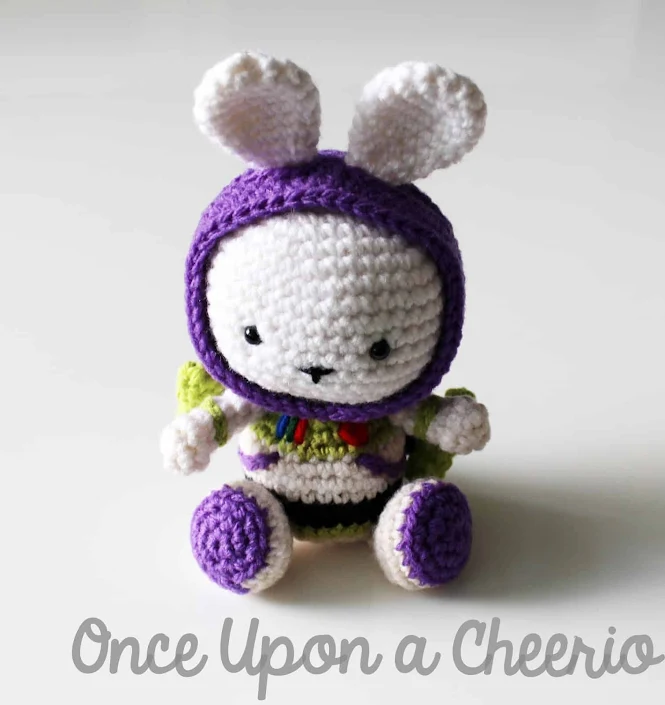
Years later, my brother got a Buzz Lightyear hoodie from Disneyland, which he wears frequently. Inspired by this, I decided to crochet a bunny wearing a Buzz Lightyear hoodie as a birthday gift for him. This creation quickly became one of my favorites, leading me to make another one for myself.
This Buzz Lightyear Bunny combines my love for Disney, Toy Story, and amigurumi crochet. It's a fun and whimsical project that brings a touch of Pixar magic to handmade crafts.

Creative Uses and Ideas
- Personal Keepsake: Create a Buzz Lightyear Bunny as a cherished memento, especially if you have fond memories associated with Toy Story or handmade gifts.
- Gift for Disney Fans: Perfect for birthdays, holidays, or special occasions for friends and family who adore Disney and Toy Story.
- Nursery Decoration: Add a whimsical touch to a child's room or nursery with this adorable bunny, bringing in elements of beloved characters.
- Easter Basket Surprise: Include the bunny in Easter baskets as a unique and handmade alternative to traditional gifts.
- Craft Fair Item: If you participate in craft fairs or markets, this bunny can be a standout item that attracts customers looking for unique, handmade toys.
- Photography Prop: Use the bunny as a prop in children's photography sessions to add a playful and familiar element.
- Holiday Ornament: Scale down the pattern to create mini versions that can be used as ornaments during the holiday season.
- Charity Donations: Handmade toys like this bunny are often appreciated by charities for children, providing comfort and joy.
You Might Also Like...
- Adorable Crochet Bunny Patterns: A curated collection of the cutest bunny crochet patterns to hop into your project list!
- Hoodie Bunny Crochet Pattern: This snuggly bunny in a hoodie is equal parts cozy and cute. It's perfect for gifting or collecting.
- No-Sew Amigurumi Chick: A quick and beginner-friendly pattern that's great for springtime crafting or Easter baskets!
Share Your Creation with Me!
Did you make this Buzz Lightyear Amigurumi Bunny? I'd love to see it! Please share it with me on Instagram and/or use the #onceuponacheerio hashtag.
What's Next?
📌 PIN THIS POST to your Pinterest board so you can come back to it later!
💬 LEAVE A COMMENT, I’d love to hear from you!
🔗 ADD THIS PATTERN to your Ravelry queue or favorites!
👋 FOLLOW ME on Instagram and Facebook so you don’t miss a thing!
This is an original crochet pattern written by Juli Anne of Once Upon a Cheerio. Please do not claim this crochet pattern as your own. If you wish to share this crochet pattern, you may link to this blog post, but please do not reprint it on your site. You may keep a copy for personal use, but please DO NOT sell or distribute the crochet pattern.
You may sell products made from this crochet pattern, but please credit the design to Juli Anne of Once Upon a Cheerio, and provide a link to my blog www.OnceUponaCheerio.com. Permission is NOT granted for mass production or factory manufacturing of any kind. Thank you for understanding!


Post a Comment